May 9, 2026

Apartment Finding Service: What’s Included and What’s Not
Apartment finding service guide: learn what is included, what costs extra, and how expats can choose safer tenant-side support.
Struggling to find the perfect home? Explore Movely services that can help you!
Security deposit disputes usually come down to one question: can you prove what the apartment looked like when you moved in, and what it looked like when you left? Memories fade, landlords and tenants remember the same wall differently, and “normal wear and tear” is notoriously subjective.
A solid documentation routine turns that ambiguity into evidence. It also changes the tone of the relationship: when a landlord knows you have clear, time-stamped records, deductions tend to become more reasonable and easier to resolve.
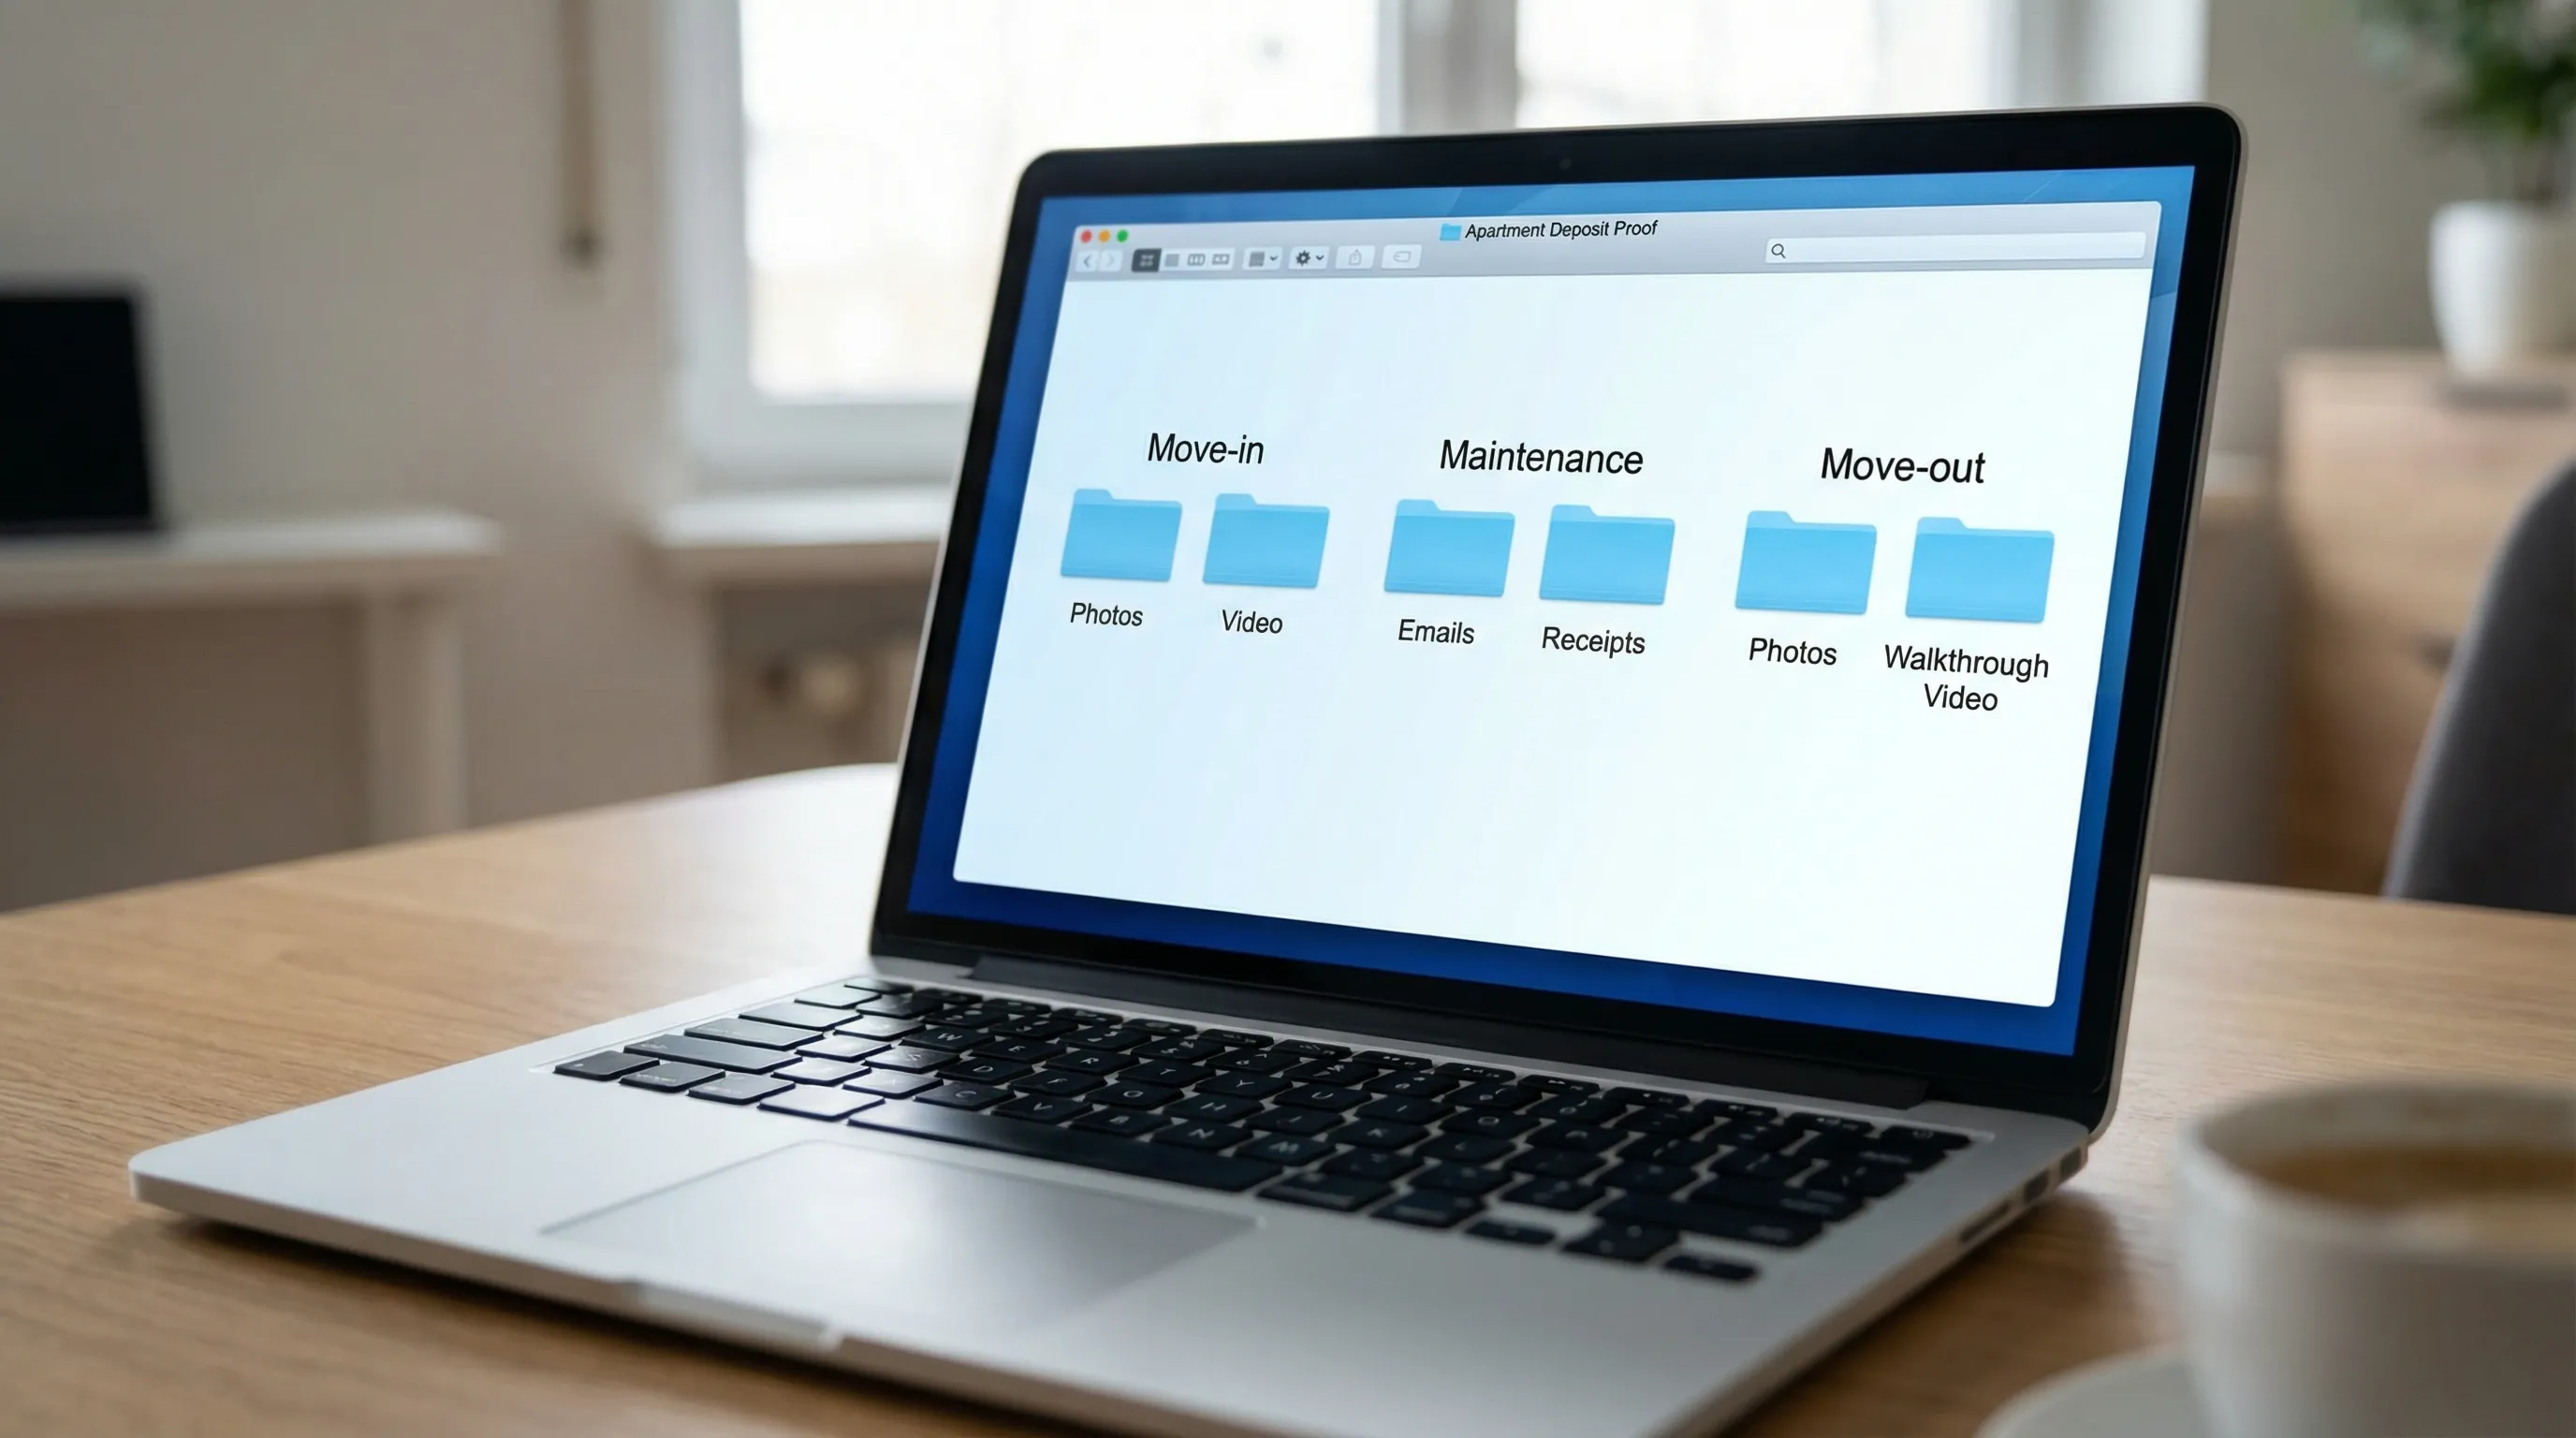
Documenting condition is not just taking a few photos on move-in day. It is creating a complete, organized record that connects:
This matters because deposit deductions should typically be tied to damage beyond normal wear and tear and supported by documentation (in many states, landlords must also provide an itemized statement within a set deadline). Rules vary by state, but evidence is useful everywhere.
If you want a deeper overview of how deposits generally work in the US, Movely also breaks it down in Security Deposit Rules: What Tenants Should Know.
Most renters focus on move-in, then forget about documentation until move-out. The strongest deposit protection uses three checkpoints.
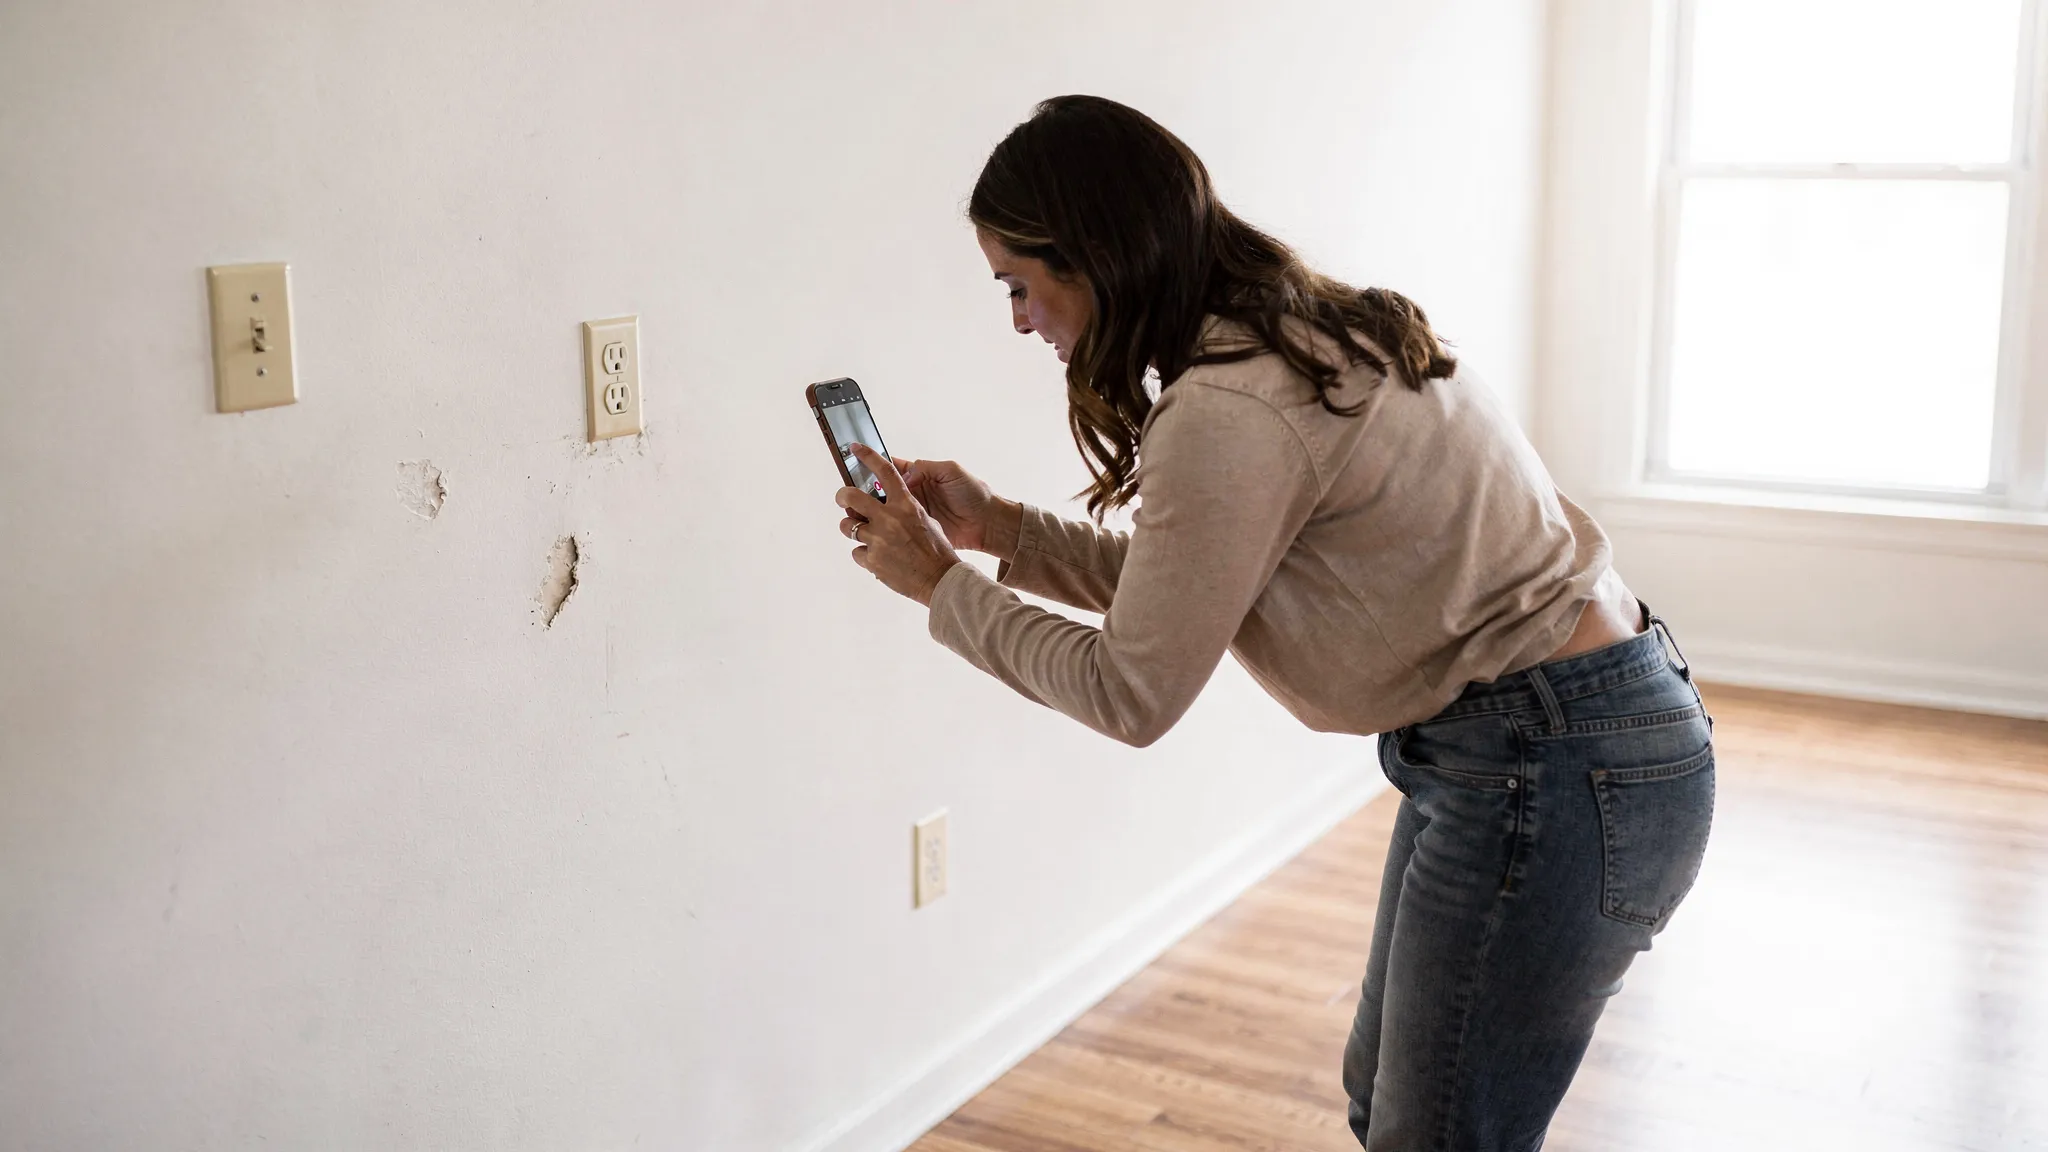
Move-in documentation is your “before” record. Without it, it is hard to argue that a scratch, stain, or broken blind was already there.
This is where many deposit disputes are won or lost. If something leaks, cracks, stops working, or shows mold, you want a record that you reported it promptly and followed the correct process.
Move-out documentation should mirror your move-in set so you can show like-for-like comparisons: same rooms, similar angles, and clear detail.
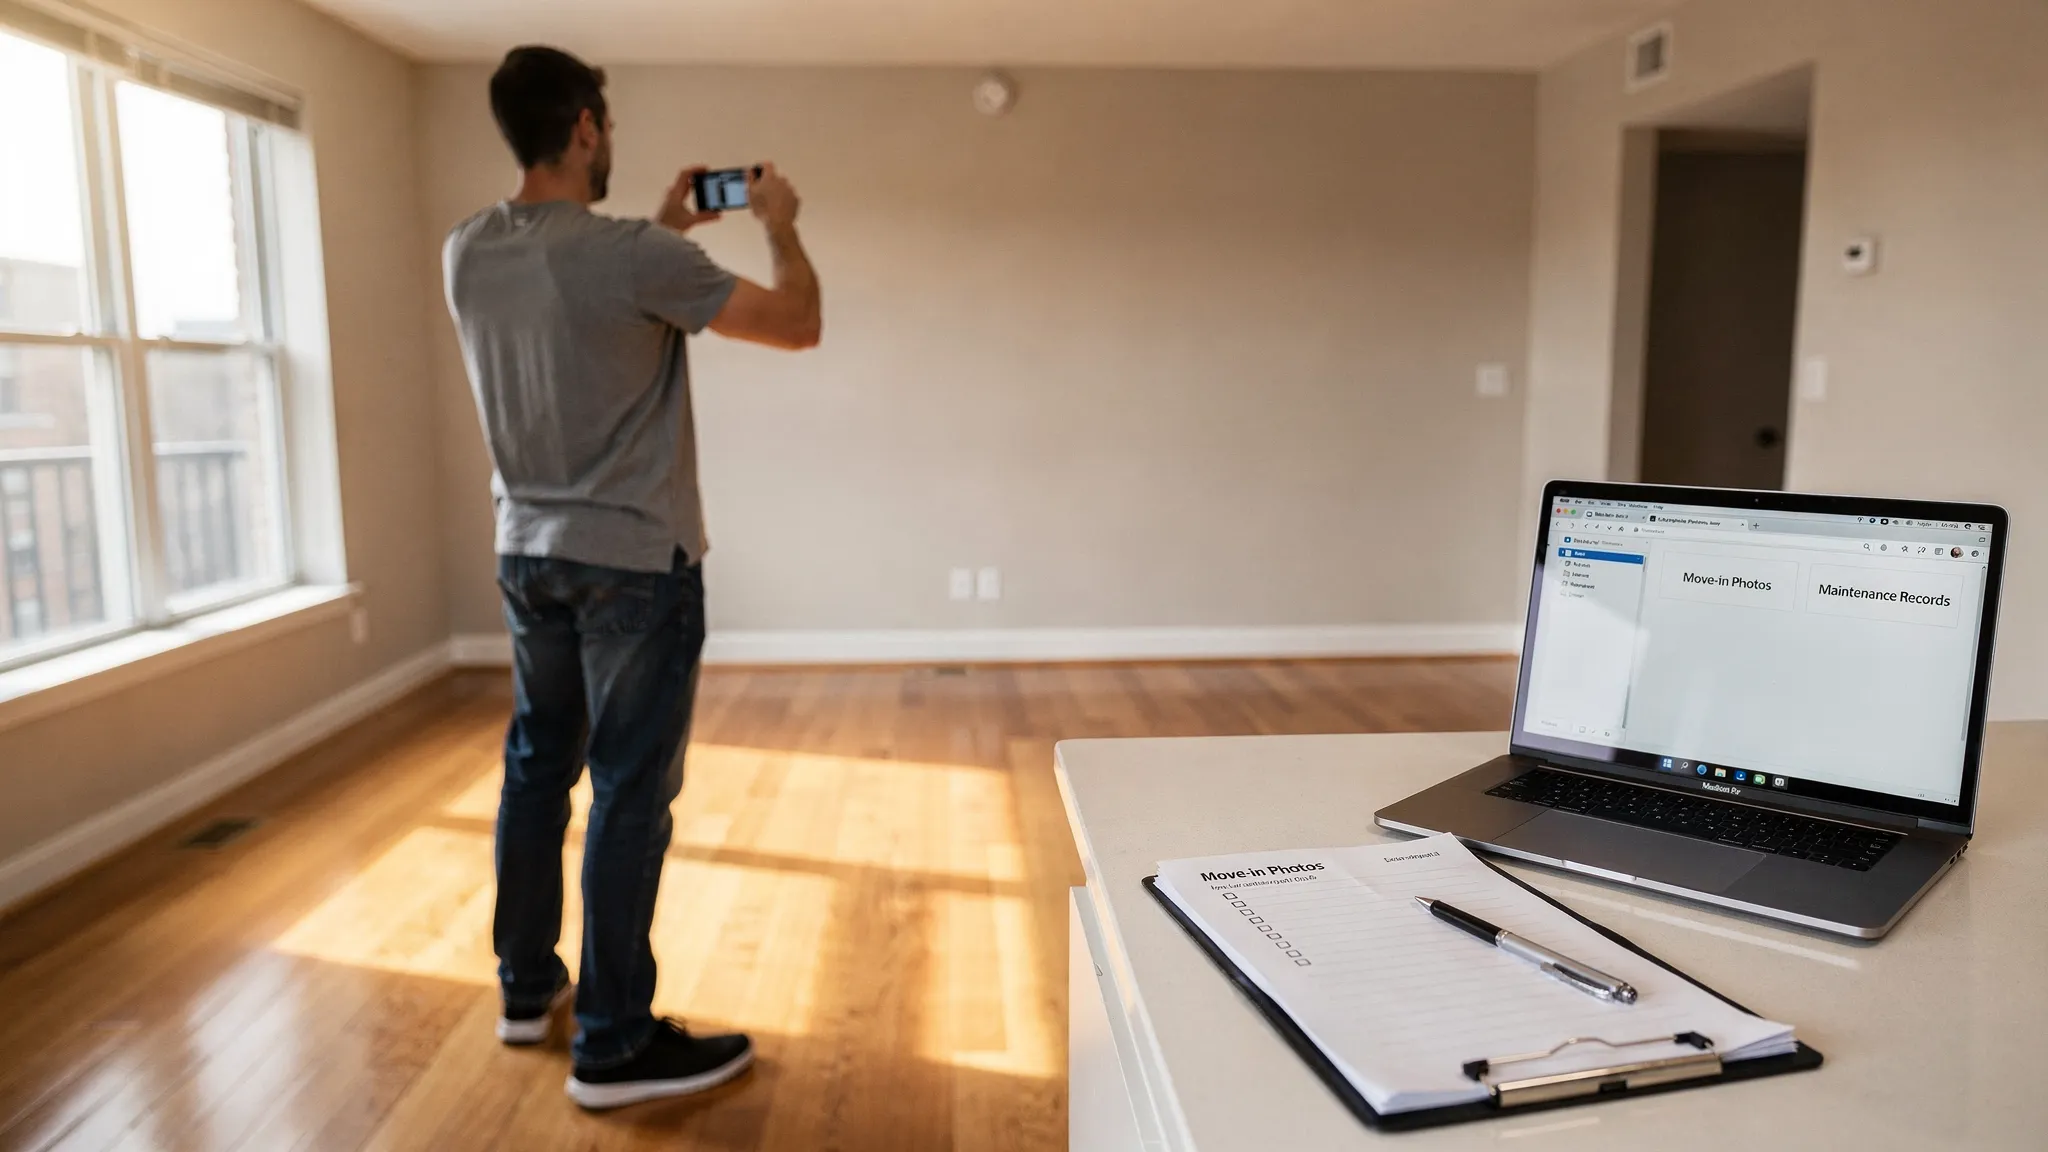
Your goal is clarity and completeness, not artistry. Use your phone, but do it in a systematic way.
Before filming, open blinds, turn on lights, and do a fast scan for anything that might be questioned later.
Common high-risk items include:
If your landlord provides a move-in checklist or condition form, use it, but do not rely on it alone.
Do both, because they serve different purposes.
Video tips that help in real disputes:
Photo tips that make your set stronger:
In 2026, most phones embed date/time metadata, but metadata alone is not foolproof (it can be edited). Strengthen credibility by:
The simplest standard: create a folder on move-in day and never overwrite it.
Great photos without written context can still lead to arguments. Create a short written condition summary and send it.
Within 24 to 72 hours of move-in (or whatever your lease instructs), send a message that:
Keep it professional and factual. This is not a complaint letter, it is a record.
Deposit disputes often hinge on “why didn’t you report this earlier?” or “you caused it and waited.”
For every maintenance issue, save:
If you call by phone, follow up with a same-day email: “Confirming our call today about the dripping under the sink.”
Condition documentation is the headline, but money documentation is part of deposit protection too.
Save proof of:
Use traceable payment methods whenever possible. If you are coordinating a relocation with third parties or paying via an agency, having centralized records can reduce confusion later. For example, tools that focus on consolidated payment tracking and reconciliation (like centralized payment records) can make it easier to retrieve receipts and confirmations when multiple payment methods are involved.
Furnished rentals increase your documentation burden because you are responsible for more surfaces and items.
At move-in, photograph:
Deposit fights with roommates are common, even when the landlord is reasonable.
To reduce internal disputes:
If you cannot inspect in person on day one, document as soon as you arrive, then send your condition email immediately. If your lease allows a grace period for move-in checklists, stay within it.
For more remote-renting risk control, see Remote Apartment Hunting: How to Rent Without Seeing It.
Move-out evidence is most persuasive when it matches your move-in evidence.
Before you start moving boxes, take photos and video from the same general spots you used at move-in. This helps show that marks were not caused during your move.
An empty unit removes visual doubt. After cleaning:
At key return or final walkthrough, document:
If deductions come back higher than expected, stay calm and treat it like a process.
Request an itemized list of deductions and any supporting documentation (photos, invoices, labor charges). In many places, landlords must provide some form of itemization, but requirements vary.
Send a concise reply that includes:
Avoid sending your entire camera roll in the first message. Lead with your strongest proof.
If you cannot resolve it informally, your next steps depend on your location and the amount in dispute. Common options include small claims court or a local tenant assistance resource. A solid documentation file is what makes these routes realistic.
How many photos should I take at move-in to protect my deposit? Take enough to cover every room with wide context shots plus close-ups of any defects. For most apartments, that often ends up being 50 to 150 photos plus a 5 to 10 minute walkthrough video.
Is a move-in checklist enough without photos? Usually not. A checklist helps, but photos and video provide objective detail, especially for flooring, walls, and appliances.
What if my landlord refuses to do a move-in walkthrough? Document anyway, then send a condition email with your photos/video link and request acknowledgement. You are creating a timestamped record even without their participation.
Should I text or email my landlord about existing damage? Email is easiest to archive and search, and it preserves attachments and dates more reliably. If you use a maintenance portal, screenshot your submissions and responses.
How do I prove my photos are from the right unit? Use a continuous walkthrough video starting outside your unit (showing the unit number if possible), then supplement with wide shots that include distinctive features (windows, fixtures, layout) plus close-ups.
The best time to set up your documentation system is before move-in day gets hectic. Create a folder, block 30 to 60 minutes for a systematic walkthrough, and send your condition email while everything is still fresh.
If you are planning a move or relocation and want more practical checklists, explore Movely’s rental planning guides at wemovely.com.