May 9, 2026

Apartment Finding Service: What’s Included and What’s Not
Apartment finding service guide: learn what is included, what costs extra, and how expats can choose safer tenant-side support.
Struggling to find the perfect home? Explore Movely services that can help you!
Security deposits often come down to one question: did you return the home in the level of cleanliness your lease requires? The good news is that move-out cleaning is one of the few parts of moving you can control, and doing it strategically can prevent the most common, most expensive deductions.
This move-out cleaning checklist is designed for renters who want a practical, deposit-focused plan, not a “deep clean your life” project. You will clean what landlords actually charge for, document it properly, and hand the keys back with minimal room for disputes.
In most places, a landlord can deduct from a security deposit for unpaid rent and for damage or cleaning that goes beyond normal wear and tear, but they generally can’t charge you for ordinary aging of the unit. The details vary by state and lease, so treat your lease as the primary rulebook.
Two practical takeaways:
First, “dirty” is easier to charge for than “old.” If your unit is clearly clean, you remove a big category of subjective deductions.
Second, your best protection is evidence. Cleaning is only half the job, the other half is creating a record that you returned the unit in good condition. If you have not already, skim Movely’s guides on security deposit rules and how to document apartment condition.
If you do one “adulting” step before you clean, do this: email your landlord or property manager and ask what standard they expect.
Some leases require “broom clean.” Others require “professionally cleaned carpets” or specify appliances, blinds, and fixtures. If you can get the standard in writing, you can match it exactly and avoid arguments.
If your state or landlord offers a pre-move inspection (sometimes called a pre–walk-through), take it. You may get a short list of issues to fix before move-out day, which is much cheaper than surprise deductions afterward.
Here is a simple script you can copy:
Hi [Name], I’m preparing for move-out on [date]. Could you confirm your required cleaning standard (for example, appliances, blinds, carpet), and whether you offer a pre-move inspection? I’d like to make sure I return the unit in the expected condition.
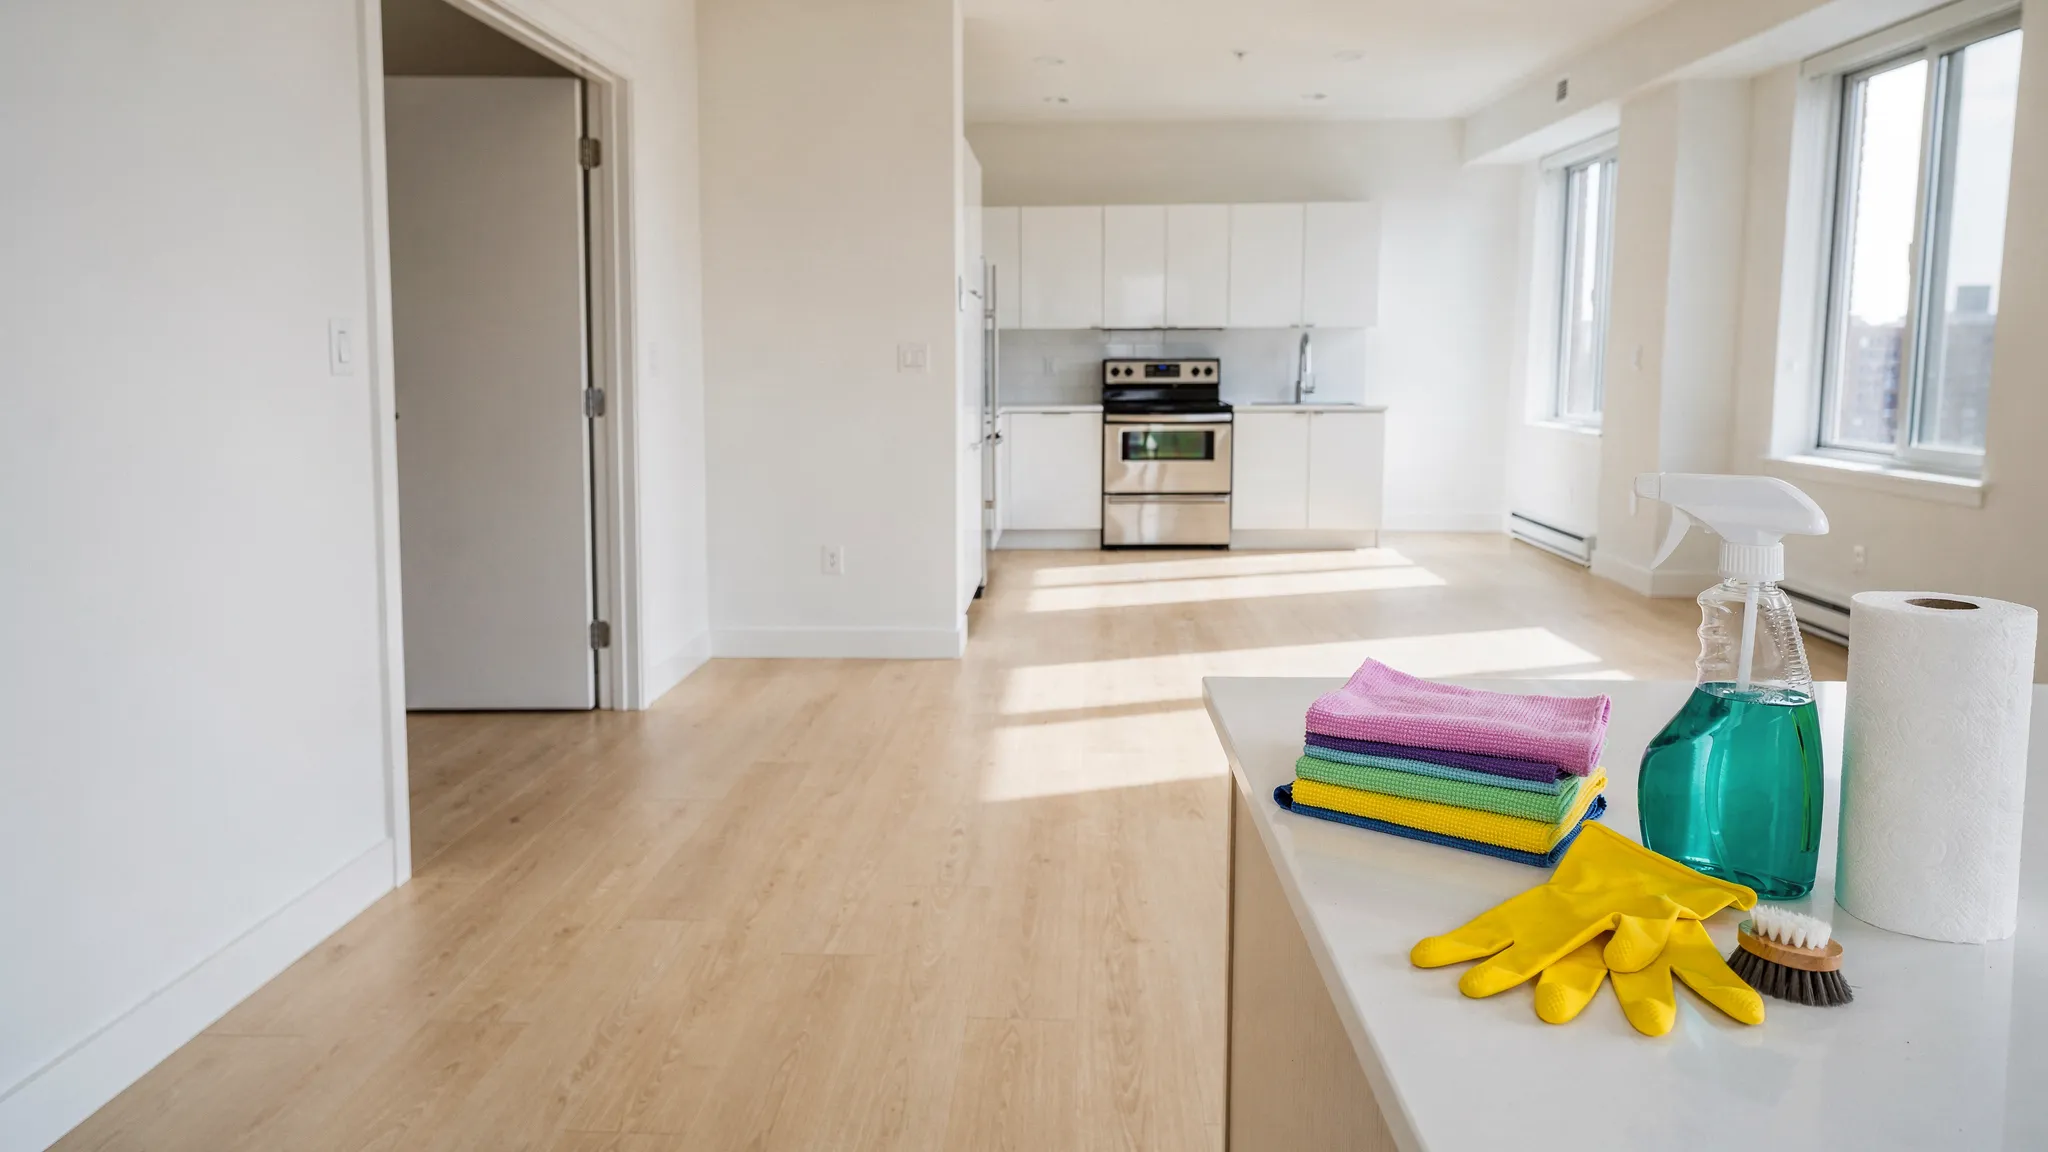
A deposit-friendly clean is mostly about removing grease, soap scum, dust, and odor, plus leaving appliances and floors visibly clean. You do not need ten specialty products.
Recommended basics (choose equivalents you already own):

Most move-out cleaning fails for one reason: people clean too early, then re-dirty the unit while packing and moving. Use this sequence instead.
Start 5 to 7 days before move-out. Do the slow tasks now: inside cabinets, inside oven, fridge defrost, mineral deposits, and patching small nail holes (if your lease expects it). You will not want to do these at midnight before your final walk-through.
Do a “mostly empty” clean 1 to 2 days before. Once rooms are 70 to 80 percent packed, you can access baseboards, closet shelves, and floors.
Finish on move-out day after the truck is loaded. Your final pass should be fast: vacuum lines, wiped counters, final bathroom wipe, and photos.
If you are short on time, prioritize what property managers tend to notice first. These are frequent deduction triggers because they are visible and easy to invoice.
Use this as your main move-out cleaning checklist. Aim for “clean enough that a stranger would happily move in today.”
Many deposit disputes come from small, easy-to-miss areas that look bad even when the rest of the unit is clean.
Pay special attention to:
If you are cleaning in a hurry, set a timer for 20 minutes and do a “detail sweep” where you only target these small zones.
Carpet and paint are where renters often lose the most money because expectations vary.
Carpet: If your lease requires professional carpet cleaning, follow it, and keep the receipt. Even if it doesn’t, a thorough vacuum and spot treatment can prevent “carpet cleaning” charges. Do not soak carpet with too much water, that can create mildew and bigger problems.
Walls: Small nail holes and minor scuffs are often considered normal use, but landlords may still deduct if walls look neglected. Avoid “magic fixes” that make things worse, like painting random patches with the wrong shade. If you do touch up, use matching paint and apply neatly.
Odors: Odor is subjective, but it can lead to cleaning charges. Remove trash daily, wipe the fridge, run the garbage disposal with citrus (if you have one), and air the unit out once cleaning is done.
Even a perfect move-out cleaning can be ignored if you cannot prove the condition.
Do this right after your final clean, when the unit is empty and well-lit:
If you can, do the handoff in person and request confirmation in writing that the unit was returned.
A professional clean is often worth it when:
If you hire help, give them this checklist and ask what is included. Many “standard cleans” do not include ovens, inside fridges, or blinds unless you specify.
Side note for readers who run cleaning businesses: if you want a consistent lead flow for move-out cleaning (especially around peak leasing months), a managed digital marketing service can help systematize acquisition so you are not relying only on seasonal referrals.
Before you lock the door for the last time, stand in each room and do the same quick scan:
Look up (dust), look at eye level (smudges), look down (corners and edges). Open the fridge and oven. Flush the toilet and check the bowl and base. Turn on lights to spot streaks and crumbs.
This last micro-check is often the difference between “looks clean” and “charge a cleaning fee.”
If deductions happen, ask for an itemized statement and compare it to your photos and your lease requirements. If the charges seem inflated or unrelated to cleaning or damage you caused, document your response in writing.
Movely’s security deposit rules guide walks through common timelines and what to do if you believe money was withheld unfairly.
A deposit-friendly move-out clean is not about perfection, it is about hitting the areas landlords bill for, cleaning at the right time (when the unit is empty), and documenting the final condition.
Follow the plan, keep your evidence, and you will drastically reduce the odds of losing money to avoidable cleaning deductions.